

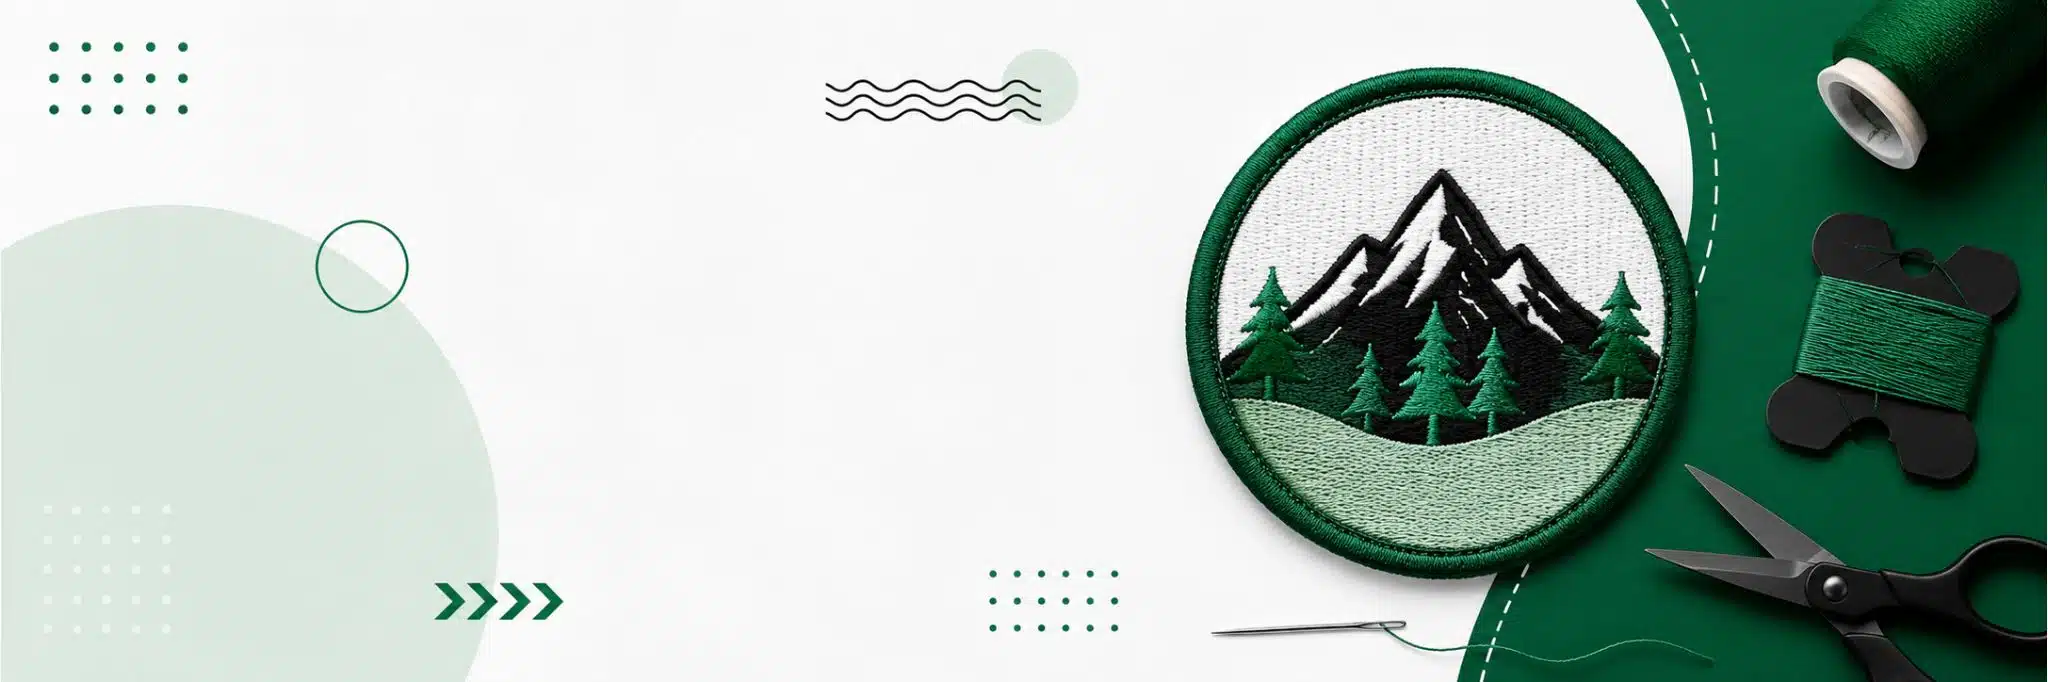

Custom embroidery patches are a practical way to personalize hats, jackets, uniforms, bags, workwear, and other fabric products. They can feature a company logo, team name, artwork, slogan, mascot, or virtually any design that can be converted into stitches. Because they are durable and easy to apply, embroidered patches are widely used by businesses, sports teams, clubs, organizations, and apparel brands.
If you’re wondering how to make custom embroidery patches, the process involves more than simply stitching a design onto fabric. You need to choose the right materials, prepare the artwork, digitize the design, select appropriate stitching techniques, and finish the patch properly.
Whether you’re interested in making patches at home or want to understand how professional patch production works, this guide walks you through the process.
Short Answer
To make custom embroidery patches, create a simple design, digitize it into an embroidery file, choose suitable fabric and stabilizer, embroider the design, trim and finish the edges, and add the right backing. For larger quantities or professional results, ordering custom embroidered patches can save time and ensure consistency.
How to Make Custom Embroidery Patches: What You’ll Need
Before you start making a patch, gather the necessary equipment and materials. Having the right supplies can make the embroidery process easier and help produce a cleaner finished product.
Embroidery Machine
An embroidery machine is the primary piece of equipment for producing machine-embroidered patches. A basic home embroidery machine may be sufficient for small projects, while commercial machines are better suited to high-volume production.
Your machine should support the embroidery file format required by your design software and have enough hoop space for your desired patch size.
Embroidery Thread
Choose durable embroidery thread in colors that match your artwork. Polyester thread is commonly used because it offers good color retention and durability, making it suitable for patches that will be exposed to regular wear and washing.
Patch Fabric
Twill is one of the most common materials for embroidered patches because it provides a stable surface for stitching. Felt, canvas, and other fabrics can also be used depending on the appearance and durability you want.
Stabilizer
A stabilizer supports the fabric while the machine stitches the design. Without adequate stabilization, the fabric can move or stretch, causing puckering and distorted embroidery.
Common stabilizer options include:
- Cut-away stabilizer
- Tear-away stabilizer
- Wash-away stabilizer
The best choice depends on your fabric and design.
Backing
The backing determines how the finished patch will be attached to a garment or other product. Popular options include:
- Iron-on backing: Convenient and easy to apply.
- Sew-on backing: Provides strong, permanent attachment.
- Hook-and-loop backing: Useful for uniforms and removable patches.
- Adhesive backing: Suitable for temporary applications.
How to Make Embroidered Patches Step by Step
Once you have your supplies ready, you can begin producing the patch. Each stage affects the final appearance, so take time to prepare the design correctly before starting the machine.
Step 1: Create Your Patch Design
The first step is to create or select the artwork you want to turn into a patch.
You can start with a logo, illustration, text, symbol, or custom graphic. However, remember that embroidery has different limitations than digital printing.
Very small details, thin lines, and tiny lettering can become difficult to reproduce with thread. For this reason, simpler designs often produce better results.
When learning how to design embroidery patches, consider the final patch size before completing the artwork. A design that looks detailed on a computer screen may become difficult to read when reduced to a three-inch patch.
For better results:
- Use clear shapes and outlines.
- Avoid extremely thin lines.
- Keep small text to a minimum.
- Use contrasting colors.
- Consider the patch’s final dimensions.
- Make sure important details remain recognizable.
If you’re starting with a company logo, you may need to simplify certain elements without changing its overall identity.
Step 2: Digitize the Artwork
Digitizing is one of the most important stages in learning how to make embroidery patches.
An embroidery machine cannot stitch a standard JPG, PNG, or similar image directly. The artwork must first be converted into an embroidery file that tells the machine how to create the design.
During digitization, the artwork is translated into individual stitches. The digitized file determines elements such as:
- Stitch type
- Stitch direction
- Stitch density
- Stitch sequence
- Underlay
- Thread changes
For example, large areas may use fill stitches, while borders and lettering may use satin stitches. Fine outlines may require running stitches.
Poor digitization can lead to uneven stitching, excessive thread density, puckering, distorted shapes, or unreadable lettering.
If you are new to embroidery, professional digitizing can be worthwhile, particularly when working with logos or detailed artwork.
Step 3: Prepare the Patch Material
After digitizing the design, prepare your patch fabric.
Cut the material slightly larger than the finished patch and place it securely in the embroidery hoop along with the appropriate stabilizer.
The material should be tight enough to remain stable but not so tight that it becomes stretched or distorted.
Proper stabilization is particularly important for patches because the embroidery itself can contain a high number of stitches within a relatively small area.
Before starting the final patch, consider creating a test sample. This allows you to identify problems with:
- Thread tension
- Stitch density
- Design size
- Thread colors
- Fabric movement
- Lettering
Making a test patch can save both time and materials when producing multiple pieces.
Step 4: Embroider the Design
Load the digitized file into your embroidery machine and select the appropriate thread colors.
Before pressing start, check the design sequence and confirm that the machine has the correct needle and thread installed.
During embroidery, monitor the machine for thread breaks, fabric movement, skipped stitches, or other problems.
If the design contains multiple colors, the machine may stop between sections so you can change the thread. Carefully following the correct color sequence helps ensure that the final artwork matches the intended design.
Once the embroidery is complete, inspect the stitching before removing the material from the hoop.
How to Make Embroidered Patches Look Professional
Producing an embroidered patch is one thing; creating one that looks clean and professional requires additional attention.
Start with artwork that has enough contrast between the background and embroidered elements. This makes logos and lettering easier to recognize.
You should also avoid excessive stitch density. Adding more stitches does not necessarily make a patch look better. Too many stitches can cause the fabric to pucker, increase production time, and create unnecessary thread tension.
Finally, inspect the edges and stitching carefully. Clean borders and consistent embroidery can make a significant difference in the finished appearance.
In the next section, we’ll cover how to finish and back your patch, ways to create patches without an embroidery machine, design considerations for hats and apparel, common production problems, and when it makes more sense to order custom embroidery patches professionally.
How to Make Custom Embroidery Patches: Finishing and Application
Once the embroidery is complete, your patch still needs to be trimmed, finished, and prepared for attachment. These final steps are important because they give the patch its professional appearance and determine how securely it will stay on the garment or accessory.
Step 5: Trim the Patch
Remove the embroidered material from the hoop and carefully trim the excess fabric around the design.
The cutting method depends on the type of border and equipment available. For simple DIY projects, sharp fabric scissors can work well. Professional manufacturers may use hot knives, laser cutting, or other specialized equipment for precise edges.
Leave enough material around the embroidered area to create a clean border. Cutting too close to the stitching can damage the embroidery or cause the patch to fray.
Step 6: Create the Border
A finished border gives an embroidered patch its recognizable shape and helps protect the edges.
A satin-stitch border can create a smooth, polished appearance, while a merrowed edge provides a thicker, traditional patch finish.
The border should complement the design rather than overpower it. For detailed logos, a clean border can also help separate the artwork from the background fabric.
Step 7: Add the Backing
The final production step is applying the backing you selected earlier.
Iron-on backing is convenient for customers who want to attach patches at home. It uses heat to activate an adhesive layer and bond the patch to the garment.
Sew-on backing is a strong option for uniforms, workwear, jackets, and other products that receive frequent use.
Hook-and-loop backing allows the patch to be removed and replaced, making it useful for tactical apparel, uniforms, and equipment.
Choosing the correct backing depends on the application, garment material, and expected frequency of use.
How to Create Embroidered Patches Without an Embroidery Machine
You don’t necessarily need an embroidery machine to create a custom patch. There are several alternatives depending on your budget, skills, and production requirements.
Hand Embroidery
Hand embroidery can be used to create one-of-a-kind patches. It requires basic embroidery supplies and patience but gives you considerable control over the design.
This method is particularly suitable for:
- Hobby projects
- Handmade products
- Small decorative patches
- Personalized gifts
However, hand embroidery can take considerably longer than machine embroidery, especially for detailed designs or multiple patches.
Use a Local Embroidery Service
If you only need a few patches, working with a local embroidery provider may be more practical than purchasing an embroidery machine.
You can provide your artwork and specify the desired size, colors, shape, and backing. The provider handles the digitization and production.
Order Online
Ordering professionally produced patches online is another convenient option, particularly for businesses, clubs, teams, and apparel brands.
When you order custom patches online, you can typically choose from different:
- Patch sizes
- Shapes
- Thread colors
- Border styles
- Backing options
- Order quantities
Professional production can also provide greater consistency when you need multiple patches with identical artwork.
How to Design Embroidery Patches for Different Uses
The best patch design depends on where you plan to use it. A design created for a jacket may not work equally well on a small hat.
Embroidery Patches for Hats
Hats usually provide a relatively small decoration area, so patch designs should remain simple and readable.
For hat patches:
- Avoid excessive small details.
- Use bold lettering.
- Choose contrasting colors.
- Consider the curve of the hat.
- Keep the patch proportional to the crown.
A simple logo with a strong border can often have more visual impact than a highly detailed illustration.
Embroidered Patches for Jackets
Jackets generally offer more space, allowing you to use larger artwork and additional details.
Common jacket patch designs include:
- Company logos
- Club emblems
- Team graphics
- Names
- Decorative artwork
For frequently worn jackets, consider a durable sew-on backing.
Patches for Uniforms
Uniform patches need to balance appearance and durability. Company names, employee roles, department identifiers, and logos should remain easy to read.
A consistent patch size and color scheme can also create a more professional appearance across an organization.
Patches for Bags and Accessories
Backpacks, tote bags, duffel bags, and other accessories are also popular applications.
Consider the material before selecting your attachment method. Some thick or coated materials may not be suitable for certain heat-applied backings.
Common Problems When Making Embroidered Patches
Even a carefully prepared design can experience problems during production. Understanding the most common issues can help you troubleshoot them.
Puckering
Puckering occurs when the fabric wrinkles or gathers around the embroidery.
Common causes include:
- Insufficient stabilizer
- Excessive stitch density
- Incorrect tension
- Fabric movement
Using the appropriate stabilizer and adjusting the design’s stitch density can help reduce puckering.
Thread Breakage
Frequent thread breaks can interrupt production and affect the final appearance.
Potential causes include incorrect tension, a damaged or unsuitable needle, poor-quality thread, or machine-related problems.
Check your needle and thread settings before starting another production run.
Unreadable Small Text
Small lettering is one of the most common problems with custom embroidered patches.
Thread cannot reproduce extremely fine details in the same way that digital printing can. If text is too small, individual stitches may merge together.
Increasing the lettering size or simplifying the font can make the finished patch easier to read.
Uneven Borders
A patch border that appears inconsistent may result from inaccurate trimming, incorrect digitization, or stitching problems.
A test sample can help identify border issues before producing a larger order.
Design Doesn’t Match the Original Artwork
An embroidered patch will not look exactly like the original digital artwork. Thread has different visual and physical characteristics than pixels.
For this reason, artwork may need to be simplified or adjusted during digitization.
If color accuracy and fine detail are particularly important, discuss the limitations with your patch provider before production.
How Much Does It Cost to Make Custom Embroidery Patches?
The cost of making embroidered patches varies considerably depending on the project.
Several factors influence the final price:
- Patch dimensions
- Stitch count
- Number of thread colors
- Design complexity
- Backing type
- Border style
- Digitization
- Quantity ordered
Small, simple patches generally require less material and fewer stitches than large, detailed designs.
Quantity also plays an important role. Producing a single patch may involve setup or digitization costs, while larger orders can spread those costs across multiple pieces.
For occasional projects, buying an embroidery machine may not make financial sense. Equipment, thread, needles, stabilizers, software, maintenance, and labor can add up quickly.
For that reason, businesses and organizations that need consistent production may find professionally produced custom embroidered patches more practical.
DIY vs. Professional Custom Embroidery Patches
Choosing between DIY production and professional manufacturing depends on your project.
DIY vs. Professional Production
Compare equipment, consistency, production speed, and convenience to decide which approach fits your project.
| 📊 Factor | 🛠️ DIY Production | 🏭 Professional Production |
|---|---|---|
| 💰 Equipment Investment | Higher | Minimal |
| 📚 Learning Curve | Higher | Minimal |
| 🎯 Production Consistency | Depends on experience and equipment | Generally consistent |
| 👕 Small Personal Projects | Good option | Also suitable |
| 📦 Large Orders | Time-consuming | Better suited |
| 🎨 Design Digitization | You handle it | Often handled by the provider |
| ⚡ Production Speed | Depends on equipment and experience | Generally faster |
DIY production can make sense for hobbyists and small personal projects where you want hands-on control. For large orders, consistent results, or faster turnaround, professional production can reduce the equipment investment, learning curve, and production workload.
DIY production can be rewarding if you enjoy embroidery and want complete control over the process.
Professional production is often more convenient when you need dozens or hundreds of patches, have a complex logo, or require consistent results.
What to Look for When Ordering Custom Embroidery Patches
If you decide to outsource production, don’t select a supplier based solely on price.
Review Customization Options
Check whether the supplier offers the size, shape, colors, border, and backing you need.
Ask About Digitization
Find out whether digitization is included and whether you’ll receive an artwork proof before production.
Check Minimum Order Requirements
Some suppliers specialize in bulk orders, while others accommodate smaller quantities.
Review Samples
A sample can help you evaluate:
- Stitch quality
- Color accuracy
- Border finishing
- Patch thickness
- Backing quality
Consider Turnaround Time
If the patches are needed for an event, product launch, uniform rollout, or promotional campaign, confirm the production timeline before placing the order.
Key Takeaways
- Start with a simple, embroidery-friendly design.
- Digitize the artwork before stitching.
- Use quality fabric, thread, and stabilizer.
- Test the design before producing multiple patches.
- Choose iron-on, sew-on, or hook-and-loop backing based on the application.
- Avoid tiny text and overly detailed artwork.
- Professional production can be more practical for bulk orders.
- Proper finishing improves patch durability and appearance.
Final Thoughts on How to Make Custom Embroidery Patches
Learning how to make custom embroidery patches involves several stages, from creating the artwork and digitizing the design to embroidering, trimming, bordering, and backing the finished patch.
The most important factors are good artwork, appropriate stabilization, accurate digitization, suitable thread, and careful finishing. A simple, well-planned design will usually produce a cleaner result than an overly complicated one packed with tiny details.
If you’re making one or two patches as a hobby, DIY or hand embroidery can be an enjoyable option. However, if you need patches for a business, team, organization, clothing line, or large event, professional production can save time while providing consistent quality.
Once you understand the process, you’ll be better prepared to create your own patches—or choose a professional supplier that can turn your artwork into durable, high-quality custom embroidery patches.
Frequently Asked Questions About Making Embroidery Patches
Can I make embroidered patches without an embroidery machine?
Yes. You can create patches by hand or outsource the embroidery to a professional service. Hand embroidery is suitable for small projects, while professional machine embroidery is generally better for consistent production.
What fabric is best for embroidered patches?
Twill is a popular choice because it provides a stable embroidery surface and works well for many applications. Felt and canvas can also be used depending on the desired appearance and durability.
Can I turn any logo into an embroidered patch?
Most logos can be converted into embroidery, but highly detailed designs or very small text may need to be simplified. Proper digitization helps determine how well the artwork will translate into stitches.
What is the best backing for embroidered patches?
There isn’t one universal option. Sew-on backing is durable, iron-on backing is convenient, and hook-and-loop backing works well when patches need to be removable.
How do I make embroidered patches last longer?
Use durable thread, appropriate backing, quality fabric, and secure attachment. Following the care instructions for the garment can also help extend the patch’s lifespan.