
Great embroidery starts long before the machine begins stitching—it starts with properly prepared artwork. A logo or illustration that looks sharp on a screen may not translate well into thread because embroidery has physical limitations like stitch width, density, and fabric movement.
That’s why it’s essential to prepare artwork for embroidery with digitizing requirements in mind before production begins. Whether you’re creating a company logo, promotional apparel, or personalized merchandise, using the right artwork file for custom embroidery helps ensure crisp, professional results.
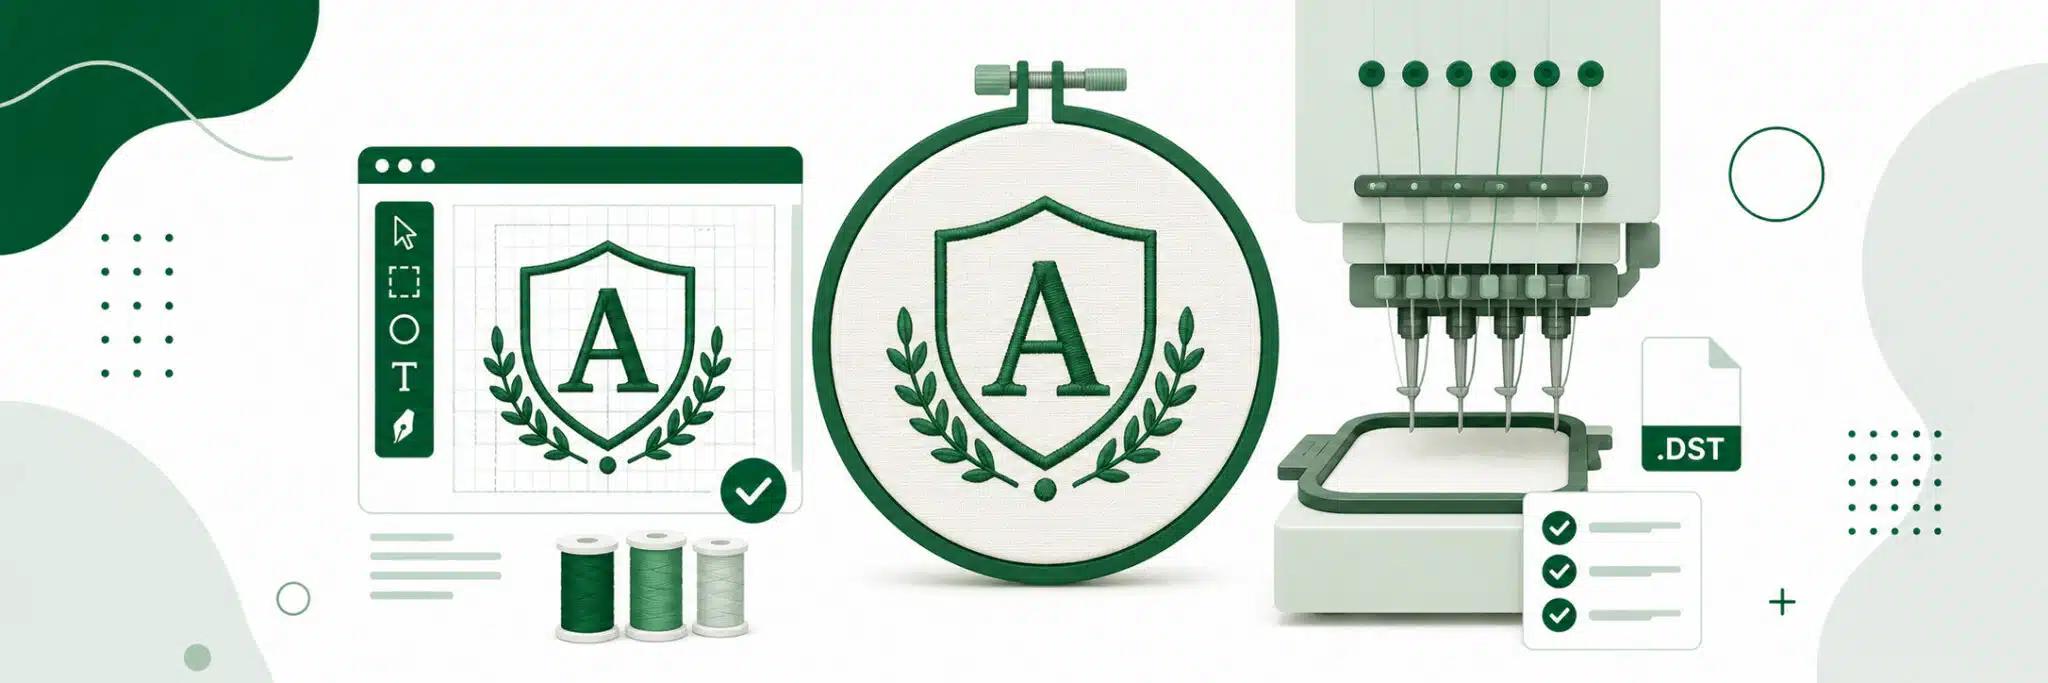
This guide explains how to optimize embroidery digitizing artwork by covering file formats, sizing, line thickness, color planning, and other practical design considerations for successful custom embroidery. Read to learn how properly prepared artwork leads to cleaner, more consistent stitch-outs. The right professional custom embroidery services take care of art preparation for you to ensure production precision.
Key Considerations in File Preparation for Embroidery
Preparing an artwork file for custom embroidery requires a different approach than preparing artwork for screen printing or DTF printing. Since embroidery recreates artwork using thousands of stitches rather than ink, every design must be optimized to ensure clean stitching, readable details, and efficient production. Before you prepare artwork for embroidery, consider the following technical requirements.
1. Start with High-Quality Artwork
The quality of your source file directly affects the digitizing process.
Recommended specifications:
- Resolution: 300 DPI
- Minimum acceptable: 150 DPI
- Preferred file formats: AI, EPS, SVG, PDF, PNG
- Avoid low-resolution screenshots or compressed JPEGs whenever possible.
Proper image resolution for embroidery digitizing allows digitizers to accurately recreate logos, shapes, and lettering without unnecessary guesswork.
2. Design at the Final Embroidery Size
One common mistake is creating artwork much larger or smaller than its intended embroidered dimensions.
For example:
| 🧵 Embroidery Size | 🖼️ Recommended Image Size (300 DPI) |
|---|---|
| 2″ × 2″ | 600 × 600 px |
| 3″ × 3″ | 900 × 900 px |
| 4″ × 4″ | 1200 × 1200 px |
Using the correct artwork size for embroidery helps maintain proportions and allows the digitizer to optimize stitch paths more accurately.
3. Keep Small Details to a Minimum
Embroidery thread has physical limitations.
Very thin outlines, tiny icons, and intricate decorative elements often disappear or merge together once stitched.
For the best results:
- Avoid extremely fine details.
- Simplify complex artwork where possible.
- Leave sufficient spacing between individual design elements.
Remember: what looks perfect on a monitor may not translate well into thread.
Businesses producing large apparel programs through bulk orders often simplify logos slightly to improve production consistency across hundreds or thousands of garments.
4. Use Readable Typography
Text is one of the most common causes of embroidery problems.
General recommendations include:
- Minimum letter height: 0.25 inches
- Preferred letter height: 0.5 inches
- Use bold sans-serif fonts whenever possible.
- Increase spacing between letters.
- Avoid thin scripts or decorative serif fonts at small sizes.
Clear typography produces cleaner embroidery and improves long-term readability.
5. Limit Color Complexity
Unlike digital printing, embroidery uses individual thread colors.
Although modern embroidery machines support multiple thread changes, fewer colors generally produce:
- Faster production
- Cleaner registration
- Lower manufacturing costs
When preparing artwork, simplify gradients into solid color blocks whenever possible.
Premium branded apparel collections often use limited thread palettes to maintain a clean, professional appearance while ensuring consistent color reproduction.
6. Consider Stitch Density
Proper embroidery stitch density settings are determined during digitizing, but artwork should support efficient stitching.
Designs with overlapping objects or tightly packed elements may require excessive stitch density, which can create:
- Bulky embroidery
- Fabric puckering
- Reduced flexibility
- Thread breaks during production
Clean vector artwork gives digitizers greater freedom to optimize stitch density for different fabrics.
7. Plan for Different Garment Types
The available embroidery area varies depending on the product.
Typical maximum embroidery areas include:
- Left chest: approximately 4″ × 4″
- Hats: approximately 4″ × 2″
- Beanies: approximately 3.5″ × 2″
- Sleeves: smaller vertical layouts
Artwork should always be designed with its final placement in mind.
This becomes especially important for businesses offering on-demand merchandise across multiple garment styles.
8. Think Beyond the Logo
Embroidery isn’t just about stitching artwork—it also represents your brand.
Before finalizing your design, ask:
- Will it remain recognizable when stitched?
- Is the artwork scalable?
- Does it reflect the premium quality of your business?
For organizations producing professional company swag, investing time in proper artwork preparation results in cleaner embroidery, fewer production revisions, and a significantly more polished finished product.
Artwork Design Best Practices for Clean Embroidery Results
Even the best embroidery digitizing artwork can produce disappointing results if the original design ignores the physical limitations of thread. Before you prepare artwork for embroidery, review these best practices to minimize production issues and create designs that stitch cleanly across different garments.
Use Solid Colors Instead of Gradients
Embroidery machines stitch with individual thread colors—not blended inks.
Do:
- Use solid color fills.
- Limit your palette to essential colors.
- Choose colors with good contrast.
Don’t:
- Use gradients or transparency effects.
- Depend on subtle shading to create depth.
If your logo contains gradients, simplify them into flat color areas before you convert your logo to an embroidery file.
Preserve Adequate Negative Space
Negative space helps define shapes during stitching.
Recommended:
- Leave generous spacing between objects.
- Separate small design elements clearly.
Avoid:
- Tiny gaps between shapes.
- Extremely narrow openings inside letters or icons.
Small negative spaces often close during stitching as thread expands slightly.
Simplify Complex Images
Highly detailed artwork rarely translates well into embroidery.
Good embroidery designs use:
- Bold outlines
- Simple shapes
- Clean silhouettes
Avoid:
- Photographs
- Highly textured illustrations
- Detailed backgrounds
- Fine decorative patterns
Professional vector art for embroidery allows digitizers to simplify artwork while preserving the overall brand identity.
Companies managing large apparel programs through contract screen printing often redesign complex logos into embroidery-friendly versions to improve consistency across thousands of garments.
Choose Readable Fonts
Text should remain legible after stitching.
Best choices:
- Bold sans-serif fonts
- Medium-weight lettering
- Larger character sizes
- Generous letter spacing
Avoid:
- Thin script fonts
- Decorative serif typefaces
- Extremely condensed lettering
When necessary, slightly increasing stroke width can dramatically improve embroidered readability.
Maintain Proper Line Thickness
Embroidery thread cannot reproduce extremely thin lines.
As a general guideline:
- Keep outlines at least 0.05 inches (1.3 mm) thick.
- Use consistent line weights throughout the design.
- Eliminate distressed textures that rely on broken lines.
Uniform strokes create smoother stitch paths and reduce thread breaks.
Remove Unnecessary Backgrounds
Your artwork file for custom embroidery should focus only on the stitched design.
Always:
- Export artwork with transparent backgrounds.
- Remove photographic backdrops.
- Delete decorative fills outside the logo area.
This gives the digitizer complete control over stitch placement.
Artwork cleanup also helps improve production efficiency for businesses utilizing professional contract decoration services across multiple product categories.
Start with High-Quality Source Files
Poor-quality artwork creates unnecessary digitizing challenges.
For best results:
- Use vector artwork whenever possible.
- Provide artwork at 300 DPI if using raster files.
- Keep original layers whenever available.
Even if your artwork will eventually be digitized, starting with clean source files significantly improves final embroidery quality.
Finally, remember that not every logo is best suited for embroidery. Extremely photographic or highly detailed artwork may sometimes produce better results using alternative decoration methods such as DTF transfers, depending on the garment, artwork complexity, and intended application.
Optimize Your Artwork for Better Stitch Quality and Fabric Performance
Even when you prepare artwork for embroidery correctly, the fabric itself can influence the final appearance of the stitched design. Understanding how embroidery interacts with different materials helps reduce common problems like puckering, pulling, and distortion while producing cleaner, longer-lasting results.
Reduce Puckering and Fabric Pull
Embroidery adds thousands of stitches to a garment, which naturally creates tension in the fabric. On lightweight materials, this tension can cause slight wrinkling or pulling around the embroidered area.
To minimize this:
- Keep stitch counts as low as practical.
- Avoid oversized solid fill areas.
- Use balanced, symmetrical designs whenever possible.
- Let professional digitizers adjust stitch density based on fabric type.
High-quality stabilizers and backing materials are also applied during production to support the fabric and improve stitch stability.
Start with the Largest Artwork Available
One of the biggest mistakes during embroidery logo preparation is starting with a small image and simply enlarging it.
Instead:
- Locate the original vector artwork whenever possible.
- Use AI, EPS, SVG, or PDF files.
- If only a small raster image exists, recreate or redraw the artwork instead of stretching it.
A properly recreated artwork file for custom embroidery produces cleaner digitizing and significantly better stitch quality than an enlarged low-resolution image.
Match the Design to the Garment
Not every fabric behaves the same under embroidery.
Heavyweight garments are ideal, including:
- Hoodies
- Sweatshirts
- Jackets
- Fleece
- Structured hats
These materials provide better support for embroidery and reduce movement during stitching.
For lightweight garments such as:
- T-shirts
- Thin polos
- Performance fabrics
it’s best to simplify the design by:
- Reducing stitch density
- Avoiding large filled areas
- Eliminating sharp corners
- Using cleaner outlines
This helps prevent distortion and improves garment comfort.
Consider Stitch Count Early
Large embroidery designs are not always better.
Higher stitch counts can increase:
- Production time
- Garment stiffness
- Fabric stress
- Overall embroidery cost
Thoughtful embroidery artwork optimization often produces a cleaner final product while keeping stitch counts efficient.
Work with Experienced Production Teams
Professional embroidery providers evaluate every design before digitizing to identify potential production issues. They can recommend artwork adjustments, stabilizer selection, and stitch modifications that improve quality without sacrificing your brand identity.
Businesses managing high-volume apparel manufacturing through union contract services often rely on experienced embroidery specialists to optimize artwork for multiple garment types, ensuring consistent quality across large production runs.
By combining well-prepared artwork with the right garment selection and professional digitizing practices, you can achieve embroidery that looks cleaner, wears better, and maintains its appearance through years of use.
FAQs
1. What is the best file format for embroidery artwork?
Vector files such as AI, EPS, SVG, and PDF are the best formats because they can be resized without losing quality. If vector artwork isn’t available, submit a high-resolution PNG (300 DPI) to ensure the digitizer has enough detail to create clean stitch paths.
2. Can I use a JPEG or screenshot for embroidery digitizing?
Yes, but only if it’s high resolution. Low-quality screenshots or compressed JPEGs often require manual redrawing before digitizing. If your logo isn’t sharp, most embroidery providers recommend recreating it as vector artwork for the best results.
3. Do I need to convert my logo into an embroidery file myself?
No. Designers only need to provide clean artwork. A professional digitizer will convert the logo into a machine-readable embroidery file such as DST, PES, EXP, or EMB based on the embroidery machine being used.
4. Why does my embroidered logo look different from the digital artwork?
Embroidery uses thread rather than ink, so small details, gradients, shadows, and ultra-thin lines are simplified during digitizing. A skilled digitizer adjusts the design while preserving the overall appearance and brand recognition.
5. What is the minimum logo size recommended for embroidery?
Most professional embroiderers recommend logos at least 2 to 2.5 inches wide for chest embroidery. Extremely small logos may require simplification to maintain clarity and stitch quality.
6. How many colors should an embroidery design use?
Most embroidery machines can stitch multiple colors, but simpler designs using 3–6 thread colors generally produce cleaner results, faster production, and lower costs while maintaining strong visual impact.
7. Should I remove backgrounds before submitting embroidery artwork?
Yes. Always submit artwork with a transparent background whenever possible. Background colors, textures, and photos are not embroidered and may complicate the digitizing process.
8. Is every logo suitable for embroidery?
Not always. Logos with tiny text, intricate illustrations, heavy gradients, or photographic elements often need modification before digitizing. An embroidery-friendly version of the logo typically produces far better results than attempting to stitch every original detail.
9. How can I test my embroidery design before placing a bulk order?
Request a digitized proof or sample stitch-out before production. This allows you to review stitch quality, lettering, thread colors, and sizing before approving large embroidery orders.
10. Can the same embroidery file be used on hats, polos, hoodies, and jackets?
Sometimes, but not always. Different garments have different fabric characteristics and embroidery areas. Digitizers often create garment-specific versions of the same logo to optimize stitch density, underlay, and overall appearance.